Drywall is one of the most common building materials used in homes, making it a key part of walls and ceilings. Whether you’re repairing damage, installing a new wall, or creating an opening for a window or door, knowing how to cut drywall properly is essential. Done correctly, it creates smooth edges, prevents waste, and makes finishing easier.
This guide will walk you through everything you need to know about cutting drywall, including the tools you need, safety precautions, and techniques for straight cuts, curved cuts, and outlet openings.
Why Cutting Drywall the Right Way Is Important
Cutting drywall isn’t just about getting the right size — it’s about creating clean, precise cuts that make installation and finishing easier. Poorly cut drywall can lead to:
- Gaps that require extra mudding and sanding
- Uneven seams that are hard to hide with paint
- Wasted material and extra costs
When you know how to cut drywall properly, you save time, money, and frustration — and you end up with a more professional-looking result.
Tools You Need to Cut Drywall
Before you start, gather the right tools to make the job easier and safer.
Essential Tools:
- Utility Knife: The most common tool for scoring and snapping drywall.
- Drywall T-Square: Helps you measure and cut straight lines.
- Tape Measure: For accurate measurements before cutting.
- Keyhole Saw or Jab Saw: Used for cutting small shapes or openings.
- Rasp: Smooths rough edges after cutting.
Optional but Helpful Tools:
- Drywall Circle Cutter: For perfect round cuts (ideal for recessed lights).
- Oscillating Tool: Makes cutting faster and more precise, especially around outlets.
- Clamps: Hold drywall steady while cutting.
Safety Precautions Before Cutting
Working with drywall can create fine dust and leave behind sharp edges, so safety should always be your top priority. Taking a few precautions helps you avoid injuries and makes the process smoother.
- Wear Safety Glasses: Protect your eyes from dust, flying debris, or accidental tool slips. Even a small piece of drywall dust can cause irritation or scratches.
- Use a Dust Mask or Respirator: Drywall dust is very fine and can irritate your lungs if inhaled. A basic dust mask works for small jobs, but use a respirator for larger projects.
- Wear Gloves: Drywall edges can be surprisingly sharp. Durable work gloves prevent cuts, scrapes, and blisters while handling or cutting panels.
- Clear Your Workspace: Make sure the floor and cutting surface are free of clutter. A flat, stable surface helps you make straight cuts and reduces the risk of tripping or slipping.
- Ventilate the Area: Open windows or use a fan to keep fresh air circulating and help reduce dust buildup.
Taking these simple precautions will make your project safer and more comfortable from start to finish.
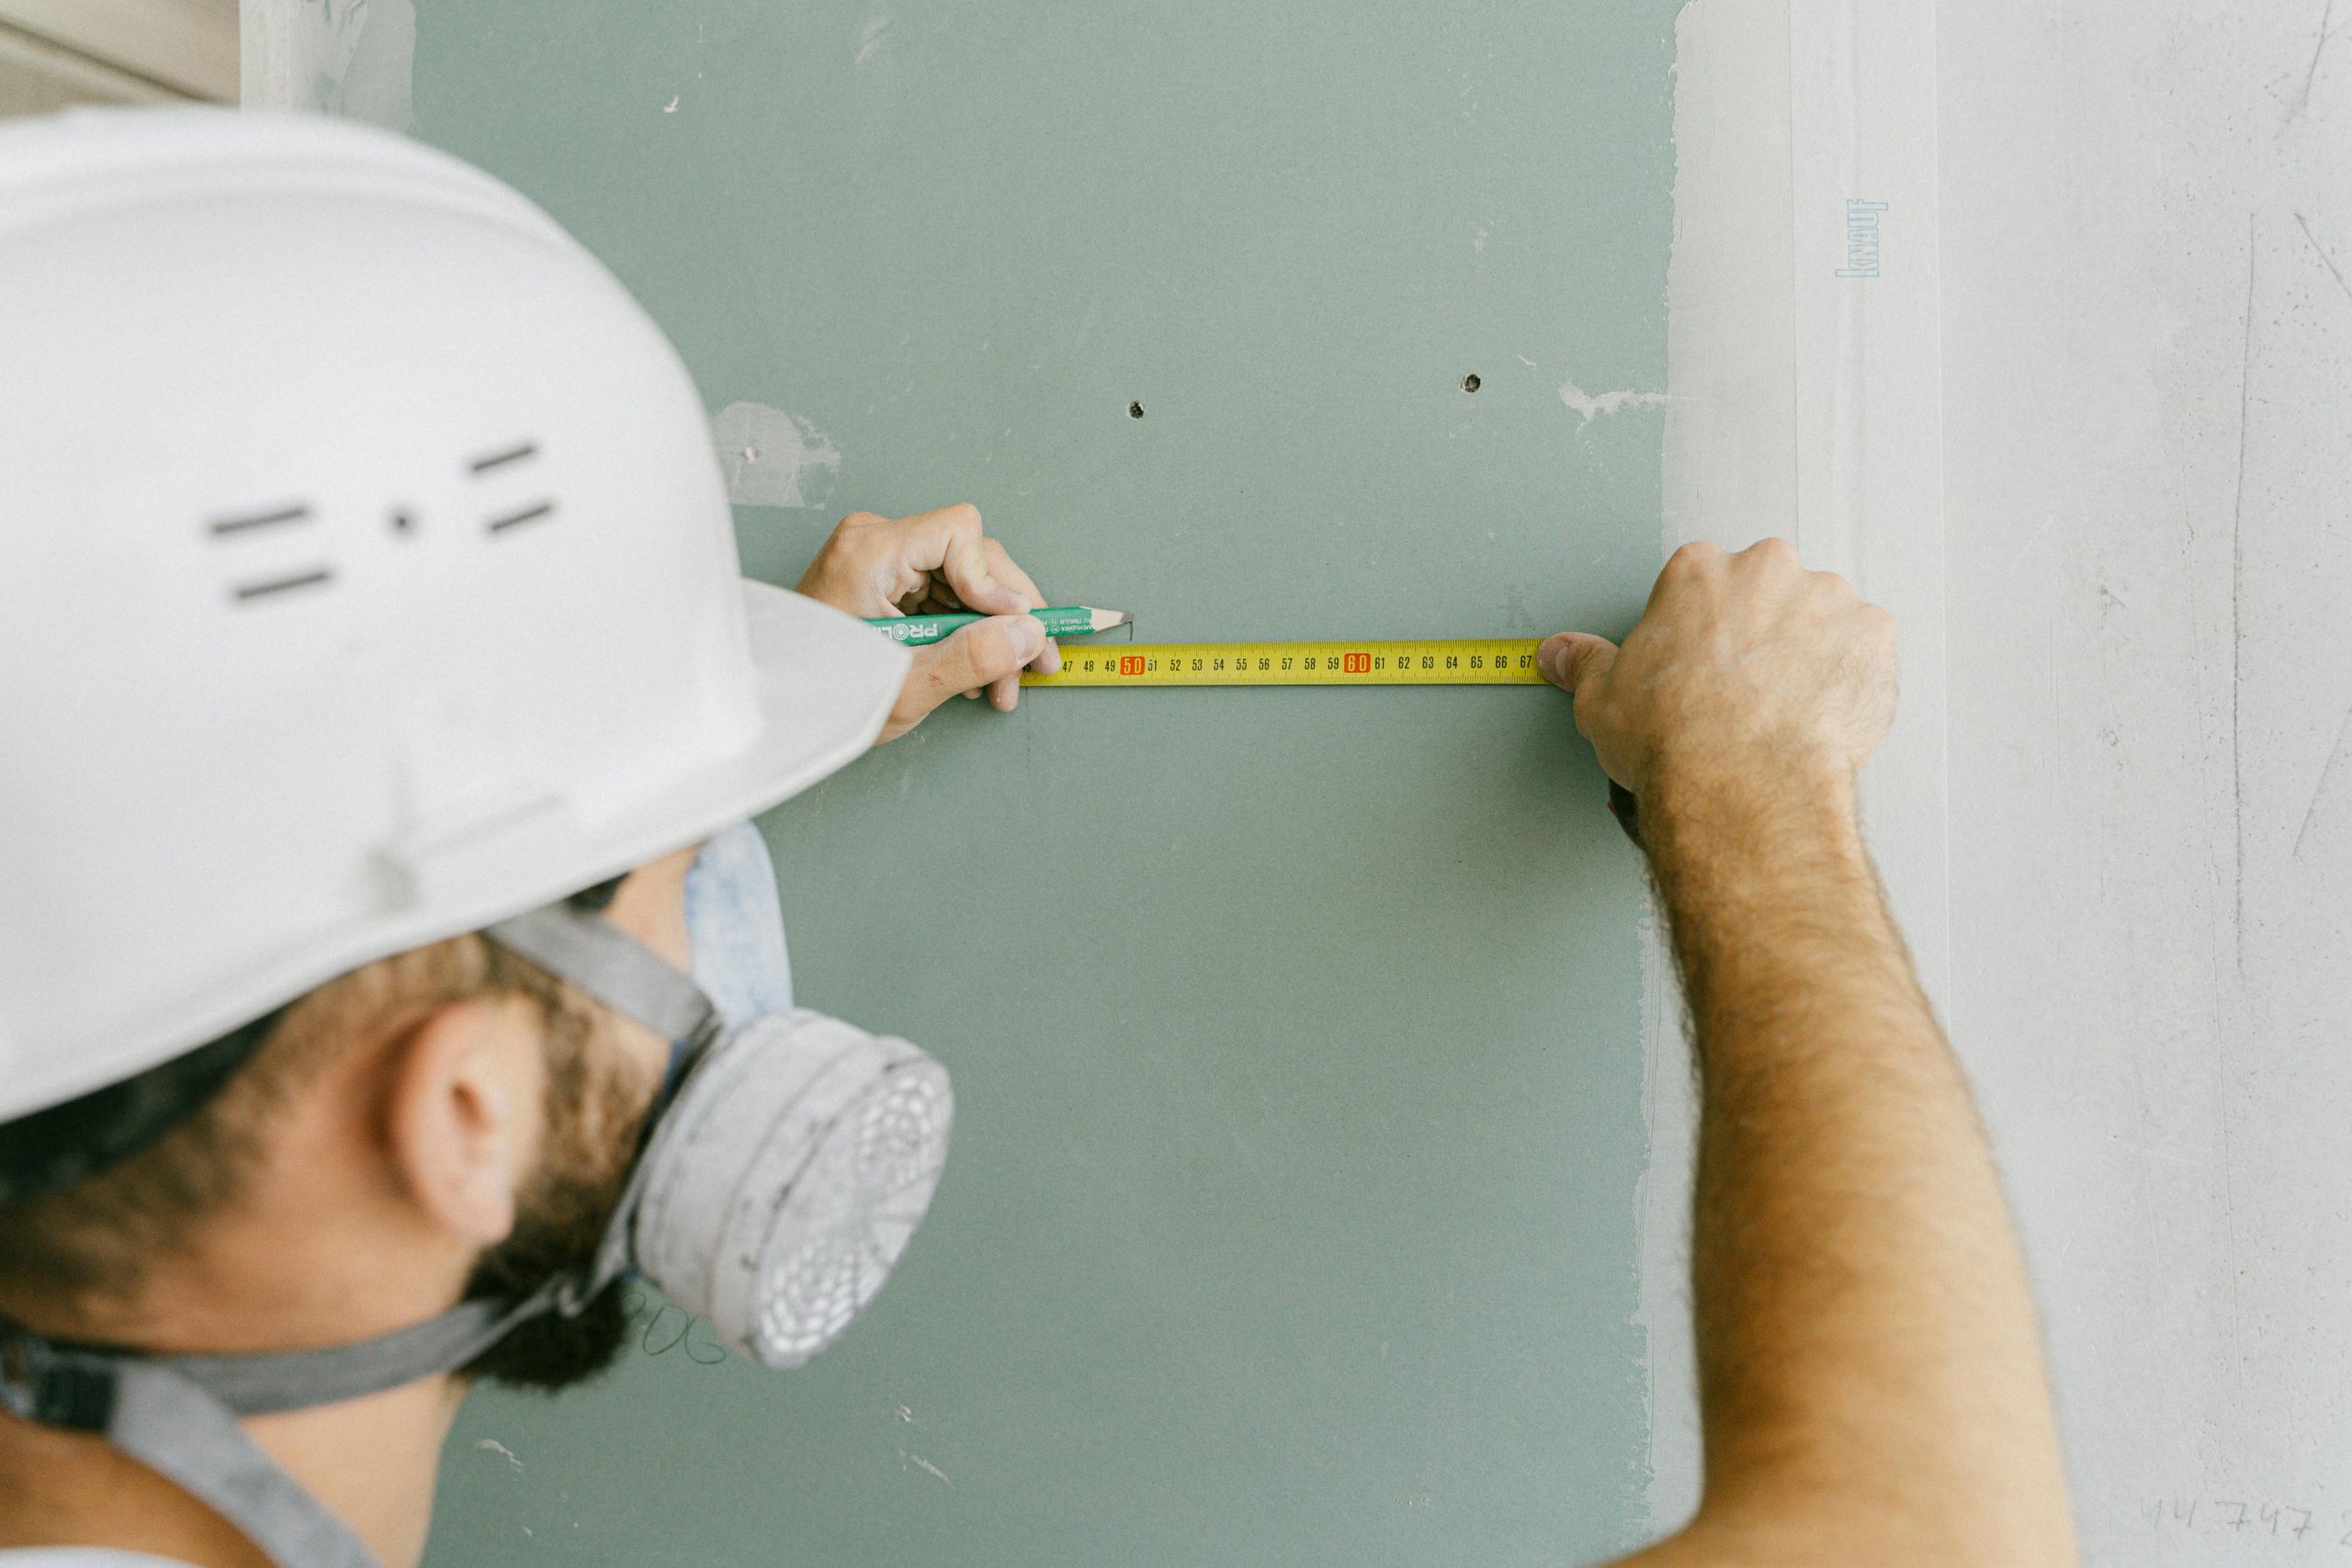
Step 1: Measure and Mark Your Cut
Start by measuring the section of drywall you need. Accuracy is key to avoid wasting material.
Tips for Accurate Measuring:
- Use a tape measure and mark both ends of your line.
- Connect your marks with a drywall T-square for a perfectly straight line.
- Double-check your measurements before cutting — measure twice, cut once.
Step 2: Score the Drywall
Scoring is the first part of the cut. You don’t cut all the way through at this stage — just the top paper layer.
How to Score Drywall:
- Place your T-square along the line you marked.
- Run your utility knife along the straight edge, applying firm, even pressure.
- One or two passes should be enough to score the paper.
Step 3: Snap the Drywall
After scoring, it’s time to break the drywall cleanly.
How to Snap It:
- Lift the drywall slightly and push gently but firmly along the score line.
- The drywall should snap cleanly along the cut.
- Use your utility knife to cut the paper backing on the other side to separate the pieces.
Step 4: Smooth the Edges
Once your drywall is cut, you may notice some rough edges.
Edge-Smoothing Tips:
- Use a drywall rasp to file down any jagged spots.
- Be gentle — you just want to create a smooth edge, not remove too much material.
- This step helps pieces fit together tightly, which makes taping and mudding easier later.
Cutting Holes for Outlets, Switches, and Fixtures
Most drywall projects require making precise openings for electrical boxes, outlets, light switches, or even ceiling fixtures. Getting these cuts right the first time saves time and avoids waste.
How to Cut Openings:
- Measure Accurately: Use a tape measure to find the exact location of the electrical box or fixture. Mark the outline directly on the drywall using a pencil or square for straight edges.
- Double-Check Your Measurements: Compare your marks to the actual placement on the wall studs to avoid misaligned openings.
- Choose the Right Tool:
- Use a keyhole saw for small, manual cuts.
- Use an oscillating multi-tool for faster, precise cuts with minimal dust.
- Cut Slowly and Carefully: Start at one corner and follow your lines closely to avoid making the opening too large.
- Test-Fit Before Installation: Place the drywall panel against the wall to ensure the cutout aligns with the box or fixture. Make small adjustments if needed before securing the panel.
Pro Tip: For extra precision, you can use an electrical box locator or template to trace perfect outlines, reducing the risk of misaligned openings.
Cutting Curves and Circles
Sometimes you need to make rounded cuts for pipes or fixtures.
Techniques for Curved Cuts:
- Use a drywall circle cutter for perfect circles.
- For small holes, score around your traced line with a utility knife, then gently push out the circle.
- Smooth edges with a rasp to get a clean finish.
Common Mistakes to Avoid

Even experienced DIYers can make mistakes when cutting drywall, which can lead to wasted material, poor results, or even injury. Here are the most common errors to watch for:
- Pressing Too Hard When Scoring: When using a utility knife, apply firm but controlled pressure. Pressing too hard can damage the drywall’s paper face and create ragged edges that are harder to finish smoothly.
- Skipping Accurate Measurements: Eyeballing your cuts is a fast way to waste entire sheets of drywall. Always measure twice and mark clearly before cutting — precision saves time and money.
- Forgetting Safety Gear: Drywall dust can irritate your lungs and eyes, and sharp edges can cut your hands. Always wear safety glasses, gloves, and a dust mask or respirator to stay safe.
- Not Supporting Large Sheets: Large drywall panels can sag, crack, or snap if not properly supported during cutting. Place them on a flat work surface or use drywall stands to keep them steady.
Pro Tip: Take your time and work in a well-lit area. Rushed cuts are the most common cause of misaligned pieces and uneven edges.
Tips for Cutting Drywall Like a Pro
Cutting drywall doesn’t have to be difficult. With the right approach, you can get clean, professional-looking results even as a DIYer. Keep these tips in mind:
- Use a Sharp Utility Knife Blade: A fresh blade makes a huge difference. Dull blades tend to tear the paper surface and leave rough edges, which can create extra sanding later.
- Score with Even Pressure: Apply steady, even pressure when scoring your line. Too much force can gouge the drywall core, while too little may not cut through the paper cleanly.
- Practice on Scrap Pieces: If you’re new to drywall cutting, practice first on leftover or scrap sheets. This helps you get comfortable with the scoring and snapping technique before working on your main pieces.
- Get a Helper for Large Sheets: Full drywall panels can be heavy and awkward to handle. Having someone hold the sheet steady while you cut prevents bending or breaking in the wrong spot.
- Measure Twice, Cut Once: Double-check all measurements and marks before cutting to avoid waste and ensure a perfect fit the first time.
Pro Tip: Keep your work area clean and well-lit. Good visibility helps you follow your cut lines precisely and prevents mistakes.
When to Call a Professional
While cutting drywall is usually a beginner-friendly project, there are times when it’s safer and more cost-effective to hire an expert. Professional drywall installers or contractors have the tools, experience, and skills to complete complex projects efficiently.
Consider calling a pro if:
- You’re Doing a Large-Scale Remodel: Cutting and hanging drywall across multiple rooms or an entire home requires precision to avoid visible seams and gaps. Professionals can finish large areas quickly and smoothly.
- The Project Involves Plumbing or Electrical Work: If you need to cut near pipes, wiring, or outlets — especially when rerouting utilities — it’s best to have an expert handle it safely to avoid damaging hidden systems.
- You’re Uncomfortable with Safety Risks: Working around live wires, cutting ceilings, or handling heavy drywall sheets can be dangerous. Hiring a professional prevents potential injury and ensures a clean finish.
Pro Tip: If your drywall repair or installation connects to a structural wall, consult a contractor first to confirm that you’re not compromising your home’s stability.
Final Thoughts
Learning how to cut drywall is an essential skill for any homeowner interested in DIY projects. With the right tools, careful measurements, and proper techniques, you can create clean, precise cuts that make installation faster and easier. Whether you’re patching a small hole or taking on a big renovation, mastering this process will save you time, money, and frustration.